Leather is a substance of nature and varying composition, which differs from piece to piece. No two types of leather will always accept a given dye giving uniform results. Therefore, it is suggested that the color chart is used as a guide only and that you should always test a swatch before attempting your finished product.
Zelikovitz Professional Leather dye is a water-based pigment. Think of it much as you would a water based house paint. You can wash your hands and tools with water, and once dried it is colorfast.
Step 1: What You'll Need:
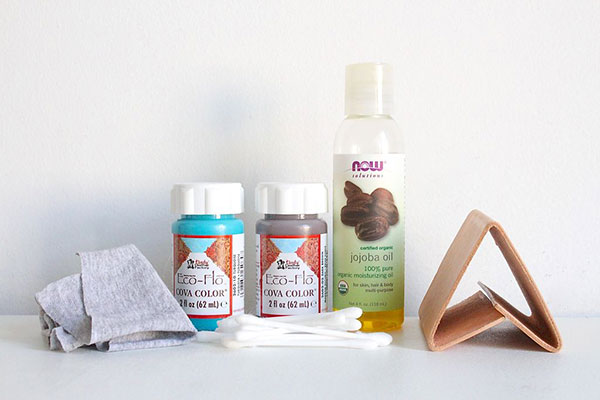
leather dye of choice (I'm using Tandy's Eco Flo)
vegetable tanned leather
leather oil/conditioner of choice (I'm using jojoba oil)
something to apply the dye (I'm using old clean t-shirt scraps and q-tips)
a leather sealer of some sort
You should keep extra paper towels and water on hand for clean up! You might also want to line your workspace and wear gloves if you're concerned about getting dye all over. :D
You have many, many choices when it comes to dyes - there are oil, water and alcohol based dyes out there. You may need to do a bit of testing to see which one you prefer. Water-based leather dye is my go-to because I feel that is more forgiving on the leather and it's easy to clean up with soap and water.
Step 2: Preparing the Leather for Dying
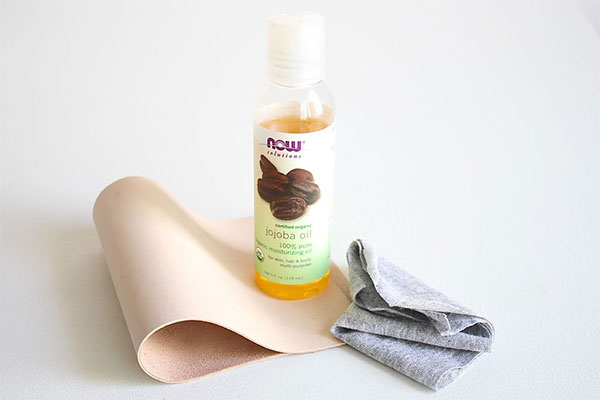
In the tanning process, various protective surface finishes are given to leather hides. Over the course of the life of the project, you may have applied conditioners and protectors and no doubt dirt has accumulated on the surface of the leather. You must remove all of this prior to any dye job. This will give you a clean surface and create the byte required for the dye to attach to the leather properly. The best product to use for this is ZeliPREP leather preparer/deglazer.
This is applied with a damp sponge or rag. You will notice that the finish will be removed as well as some of the color. If you are not sure if you have taken all of the existing sealant off (and it can be difficult to tell when you are removing a clear coat with a clear liquid), you can test if you have adequately removed it by running a damp sponge over the leather once the product has dried. If you see any shiny areas, it means that the water is not absorbing into the leather, and it needs to be deglazed again.
Step 3: Dilute Your Dyes
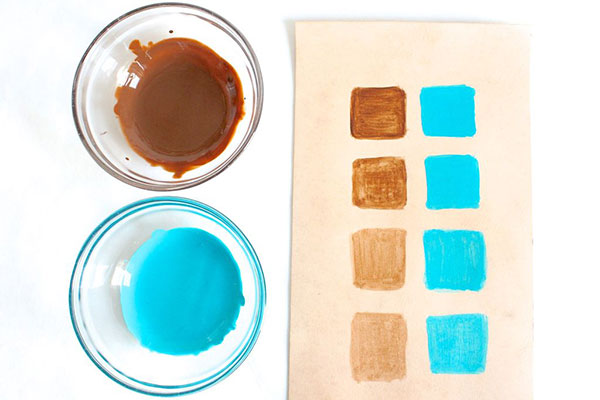
The way you choose to use your dye depends entirely on your projects. If you want bold distinct color, going full strength will get you that. You might need to apply a second coat with full strength dye to cover any blotches that occur.
If you want a more muted or antique finish, you can dilute your dye and do many thinner layers until your desired saturation is achieved.
If you want to dilute your dye, do it using the base of the dye. Since mine are water based, I'm adding water to dilute. If your dye is oil or alcohol based, you'll have to add oil or alcohol to dilute.
Above you can see the following concentrations of dye:
100% dye
75% dye, 25% water
50% dye, 50% water
25% dye, 75% water
Each of these dye squares is one thin layer.
Step 4: Apply the Dye
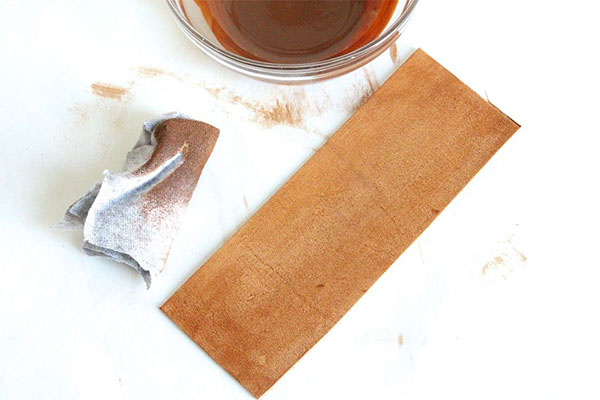
After the leather has been cleaned and prepared as recommended above, you need to make sure you mix the dye well before use. ?Try turning the bottle upside down and shaking. You may have to give it a little stir with a stick to loosen the pigment at the bottom of the bottle. You can apply with a cloth, however a sponge brush works best. Work in thin, even strokes, all in one direction. An alternate method for covering large areas evenly is to spray with a spray-gun or air brush. A second coat of dye may be applied if required, once the first coat has dried. For the second coat, work in the opposite direction. If your first coat is done using vertical strokes, the second coat should be done in horizontal strokes. Do not use a wool dauber or shearling, as they tend to hold back the pigments. Allow to dry between coats. If you want a lighter shade, try a coat of white first. If you want a darker shade, apply a coat of black. You can change the colour of leather and some vinyl. It is best to try a test in a small area first.
Note: When using yellow dye, due to the light and slightly translucent nature of the formula, it is best to first put down a coat of white. This allows the yellow to go on smoothly and vibrantly.?
Step 5: Finishing
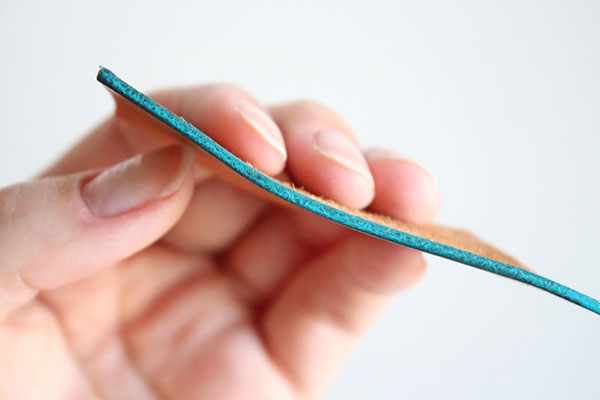
Once you've dyed the leather and it is ENTIRELY dry, you can add a wax based conditioner or more of whatever oil you like. You can buy leather conditioners or make your own. Antagonizer has an awesome instructable up over making your own leather conditioner/polish.
After you've conditioned you can burnish your edges and otherwise make your work look awesome. Be sure not to burnish using gum tragacanth before you dye as it can cause the leather to resist the dye.
?