Eight braiding is more than six braiding two leather strings, but the braided method is consistent with the six braiding, mainly take the outermost leather string across the back, and then come out from the front.
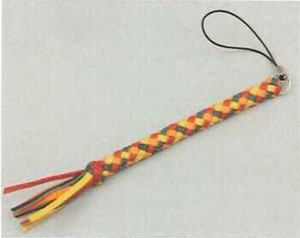
Since eight braided method need to use much more leather string, here using 0.8 mm thick, 3.0 mm wide leather string. Due to the leather string is thinner, if braid directly, it will be huddled up because of hardness is not enough, so here need to couple with 4.0 mm diameter cylindrical cowhide leather string as the core material.
- In the position of four leather strings in through the metal ring of mobile phone hanging ornament, and here take the four leather strings overlap.
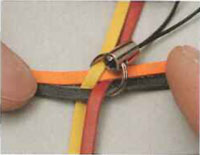
- Hanging up the phone hanging ornament, put the right of orange leather string through from the red leather string above and yellow leather string below.
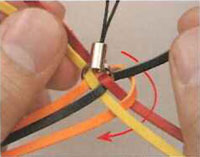
- Put the left of red leather string from yellow leather string above, orange leather string below, green leather string above and through the orange leather string below, and come out from the front.
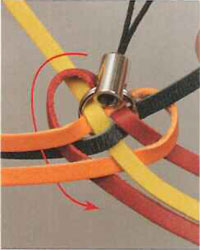
- Put the left of yellow leather string from orange and green leather string above, red leather string below, yellow leather string above and through the red leather string below, and come out from the front.
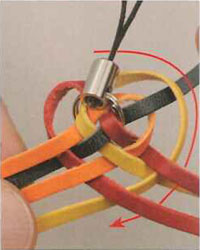
- Put the right of green leather string from red and yellow leather string above, green leather string below, orange leather string above and through the yellow leather string below.
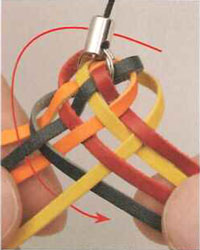
- From the last step, we can see the basic structure of eight braided method, so here please tighten the leather string, to make uniform space, and let the leather strings are closed together tightly.
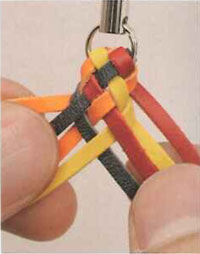
- Move the rightmost of red leather string to the left form behind, through the orange leather string below, green leather string above, orange leather string below and yellow leather string above, then come out from the front and move to the right.
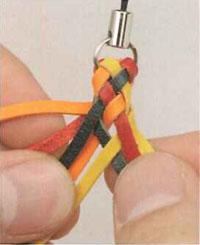
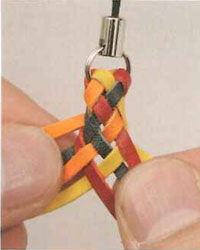
- Move the leftmost of orange leather string to the right form behind, through the yellow leather string below, red leather string above, green leather string below and red leather string above, then come out from the front and move to the left.
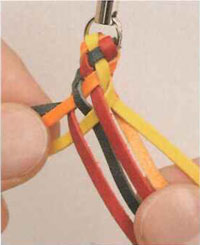
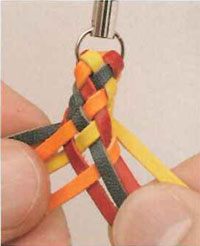
- After braided about 10mm , insert the core material from the center.
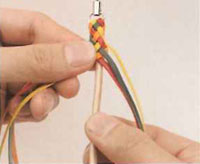
Tip: Use thinner leather string, the mesh will be more closely, and use the thicker leather string, then more straightforward. - Repeat the steps 7 & 8, around the perimeter of the core material for braiding. Pull tightly the leather string moderately, to prevent the gap.
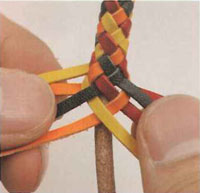
- After finished the braided work, need to tie a knot to fix. In order not to let the leather string loose, first of all need to use the twine rope to fix it temporarily.
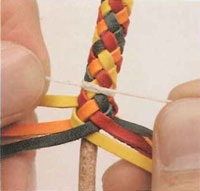
- In order to let eight pieces leather strings can be radiated out, need to put them upside down.
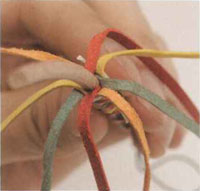
- The leather string is the intersection of a set of two, so let the leather string which came out counterclockwise close to the core material.
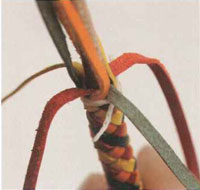
- Use twine rope to fix the leather string temporarily which stick to the core material, the next we will tie the rest of four leather strings into knot.
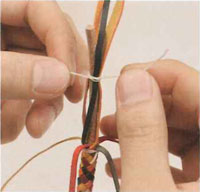
- Put the leather string coil into a circle, and then go into the adjacent leather circle by clockwise.
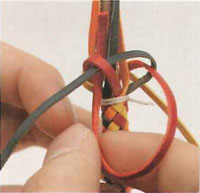
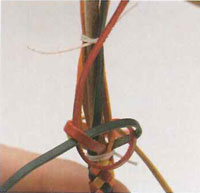
- Pull up the cross leather string along the sheath-core, and then take turns to pull the four pieces leather strings tightly.
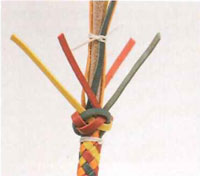
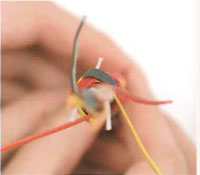
- Don't just pull the leather string, in the process of tension, use the thin and flat cone insert into the gap of the leather strings to adjust, so that can let the leather strings close together evenly.
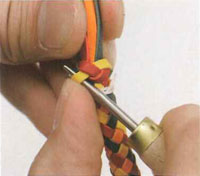
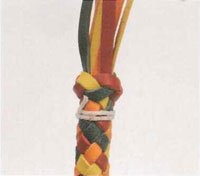
- After the leather strings tighten, remove the temporary fixation with twine rope.
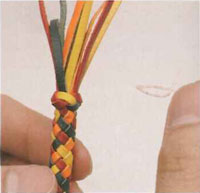
- Use scissor to cut out the core material of more, pay attention that the cutting position is below of the knot.
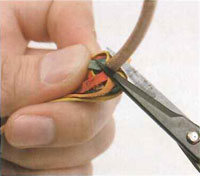
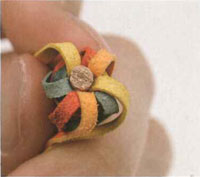
- To cut the extra leather string neatly, of course, you can also cut into oblique according to personal preference.
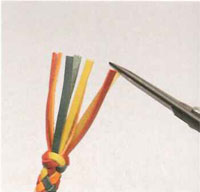
Summary: Braided Leather Technique Tutorial.